ART Pro MPA II VU Meter LED Bulb Lamp Repair and Tube Swap
 December 15, 2018
|
Posted by Jon (admin)
December 15, 2018
|
Posted by Jon (admin)
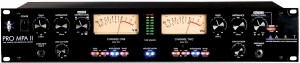
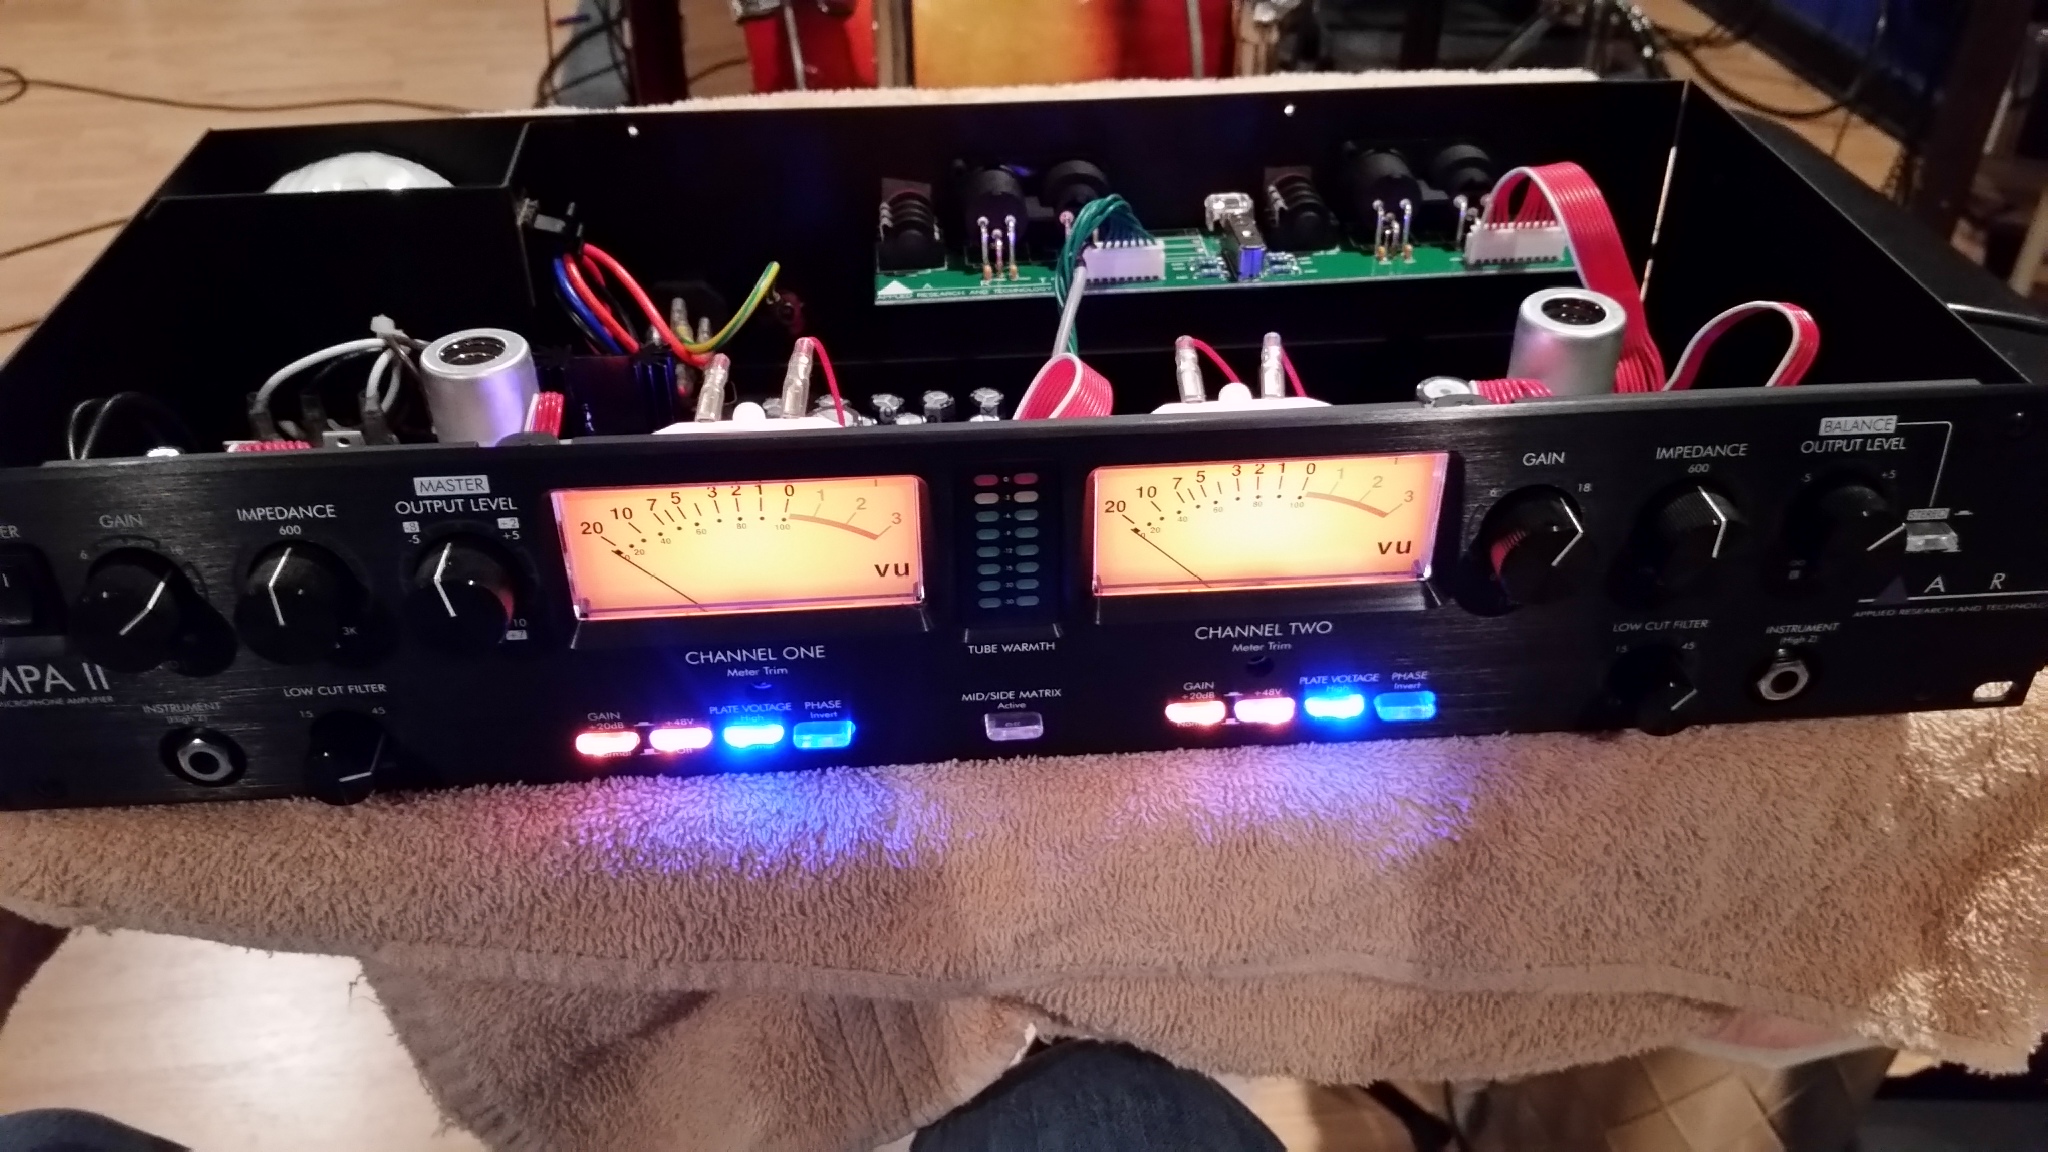
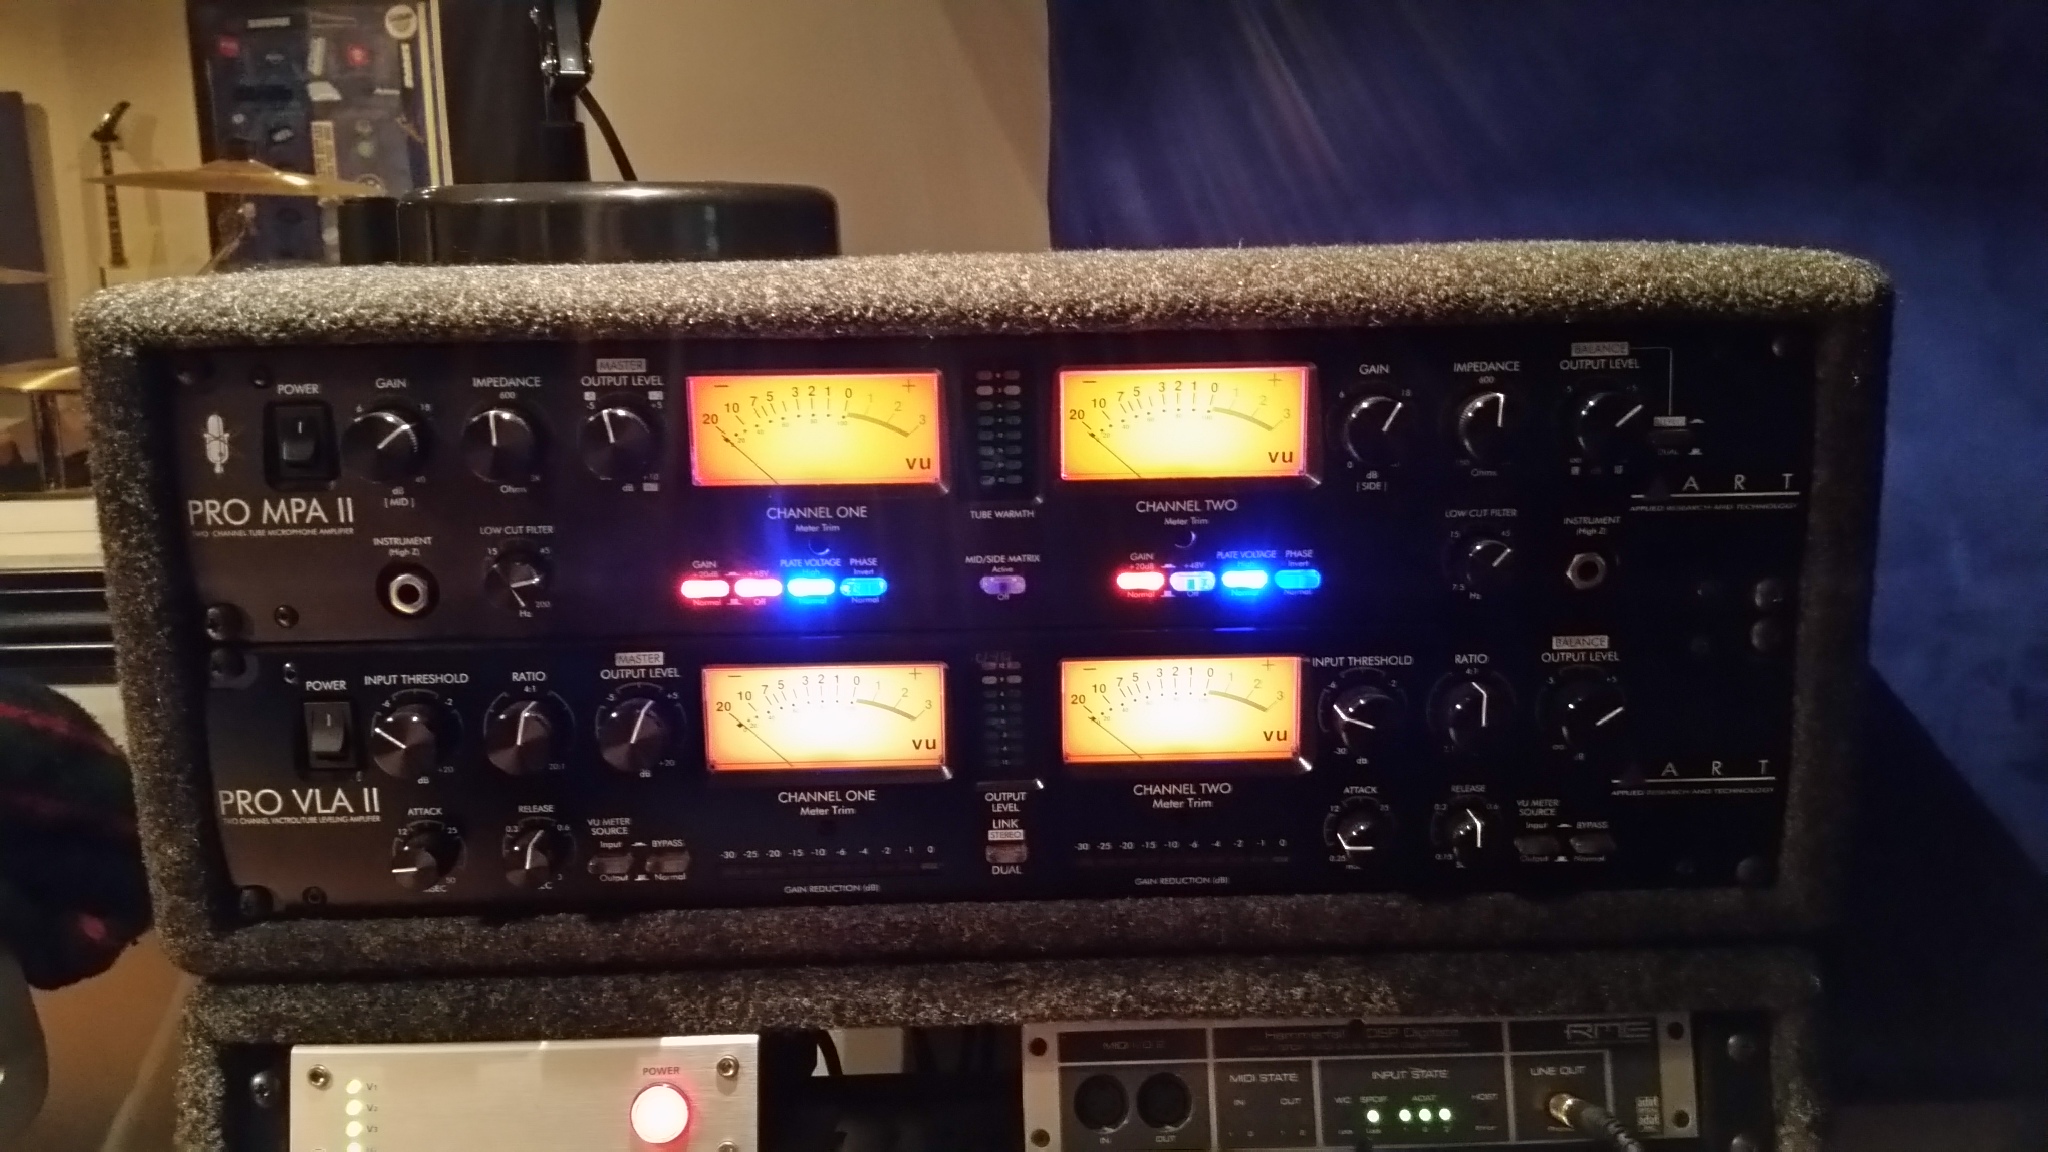
I own an ART Pro MPA II mic preamp, which I really like. I most often use it for tracking vocals, in conjunction with my ART Pro VLA II compressor. I bought the Pro MPA II used, and ever since I’ve had it, it’s had a problem: when the unit was first powered on, the right VU meter would not light up. If it was left on for a while (usually a few hours), the light would usually eventually come on and stay on until I powered it off. This didn’t affect the performance of it as a mic preamp in any way, but it was annoying and looked bad when paying clients would come into the studio and my gear didn’t appear to be working correctly. That doesn’t exactly instill confidence in your customers.
I assumed that maybe the bulb was faulty, so I e-mailed ART’s tech support a couple of times asking for a part number so I could order a replacement. Unfortunately, I never even received a reply from them (“shame on you” to whomever monitors ART’s Technical Support e-mail inbox). In any case, I had some time on my hands one evening, so I decided to crack the unit open and have a look at it. I reasoned that if the backlight for the VU used an LED rather than incandescent bult, it might just be a bad solder joint rather than a faulty bulb.
I started out by disconnecting the power cable (don’t forget this!) from the Pro MPA II and removing the top of the chassis. There are about 3 or 4 screws on each end, 2 in the back, and 2 on the top that hold the top on. After removing those screws, the top lifted off and I could see the insides. There were a couple of wires attached to the back of each VU meter, and the other end of those wires were connected to 2 points on the circuit board labeled “Lamp +” and “Lamp -“, so I knew I was in business. There were 2 screws oriented vertically that appeared to hold the lamp assembly to the back of each VU meter. There were two other screws (oriented horizontally) on the back of each lamp assembly, but based on their appearance, I reasoned that they were actually holding the lamp assembly together, which turned out to be correct. So don’t mess with those two screws.

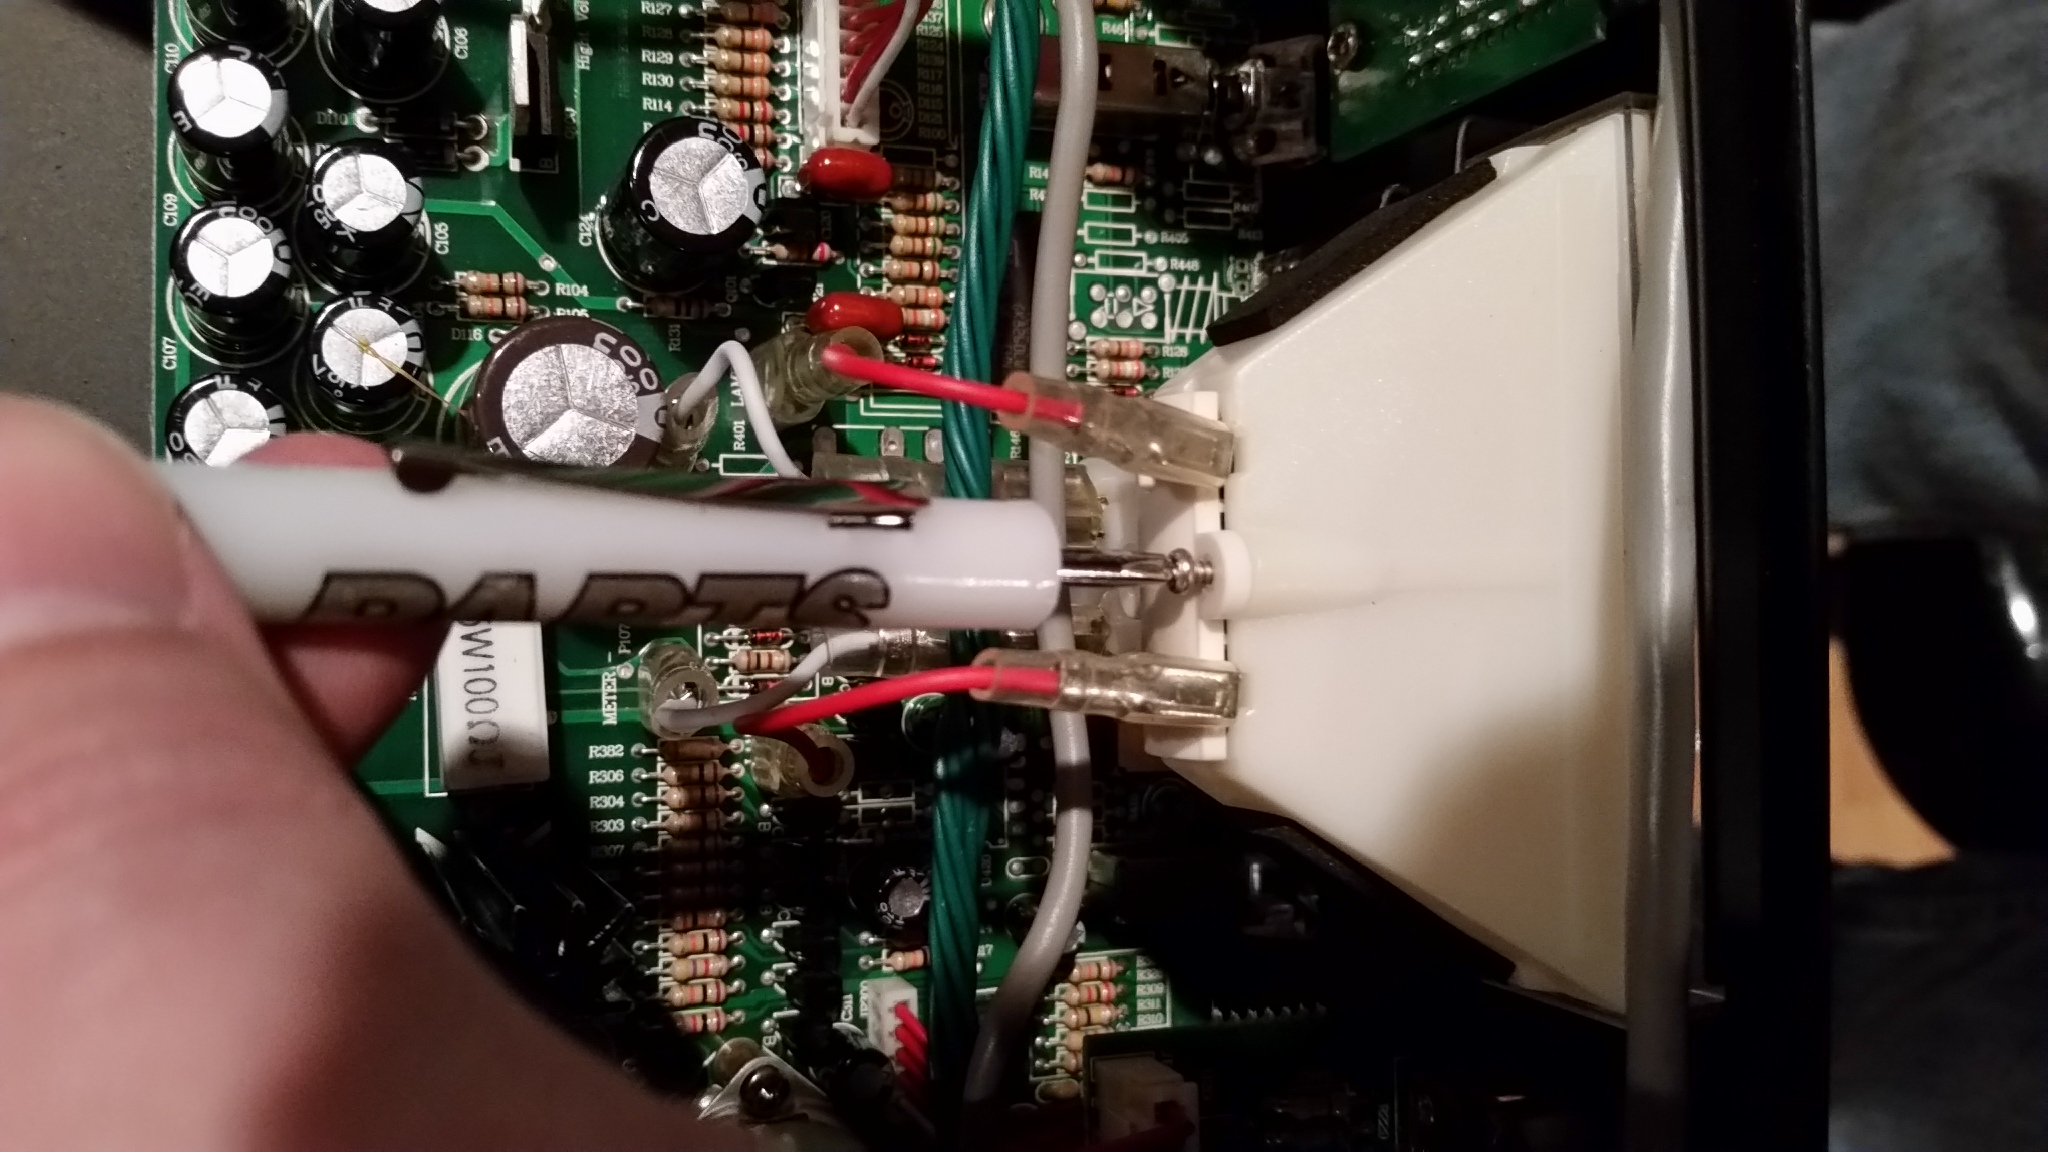
After removing the vertical screws, I pulled each lamp assembly out of its VU meter. Let me back up for a moment. What I am calling the “lamp assembly” actually consists of a plastic backing and a small (roughly 1.5″ x 0.5″) circuit board with 2 amber LED’s, 1 white LED, a couple of tiny resistors, and (what look like) a couple of voltage regulators. I reconnected the power cable to the unit and switched it on. Sure enough, the 3 LED’s for the left meter lit right up while the LED’s for the right meter did not.
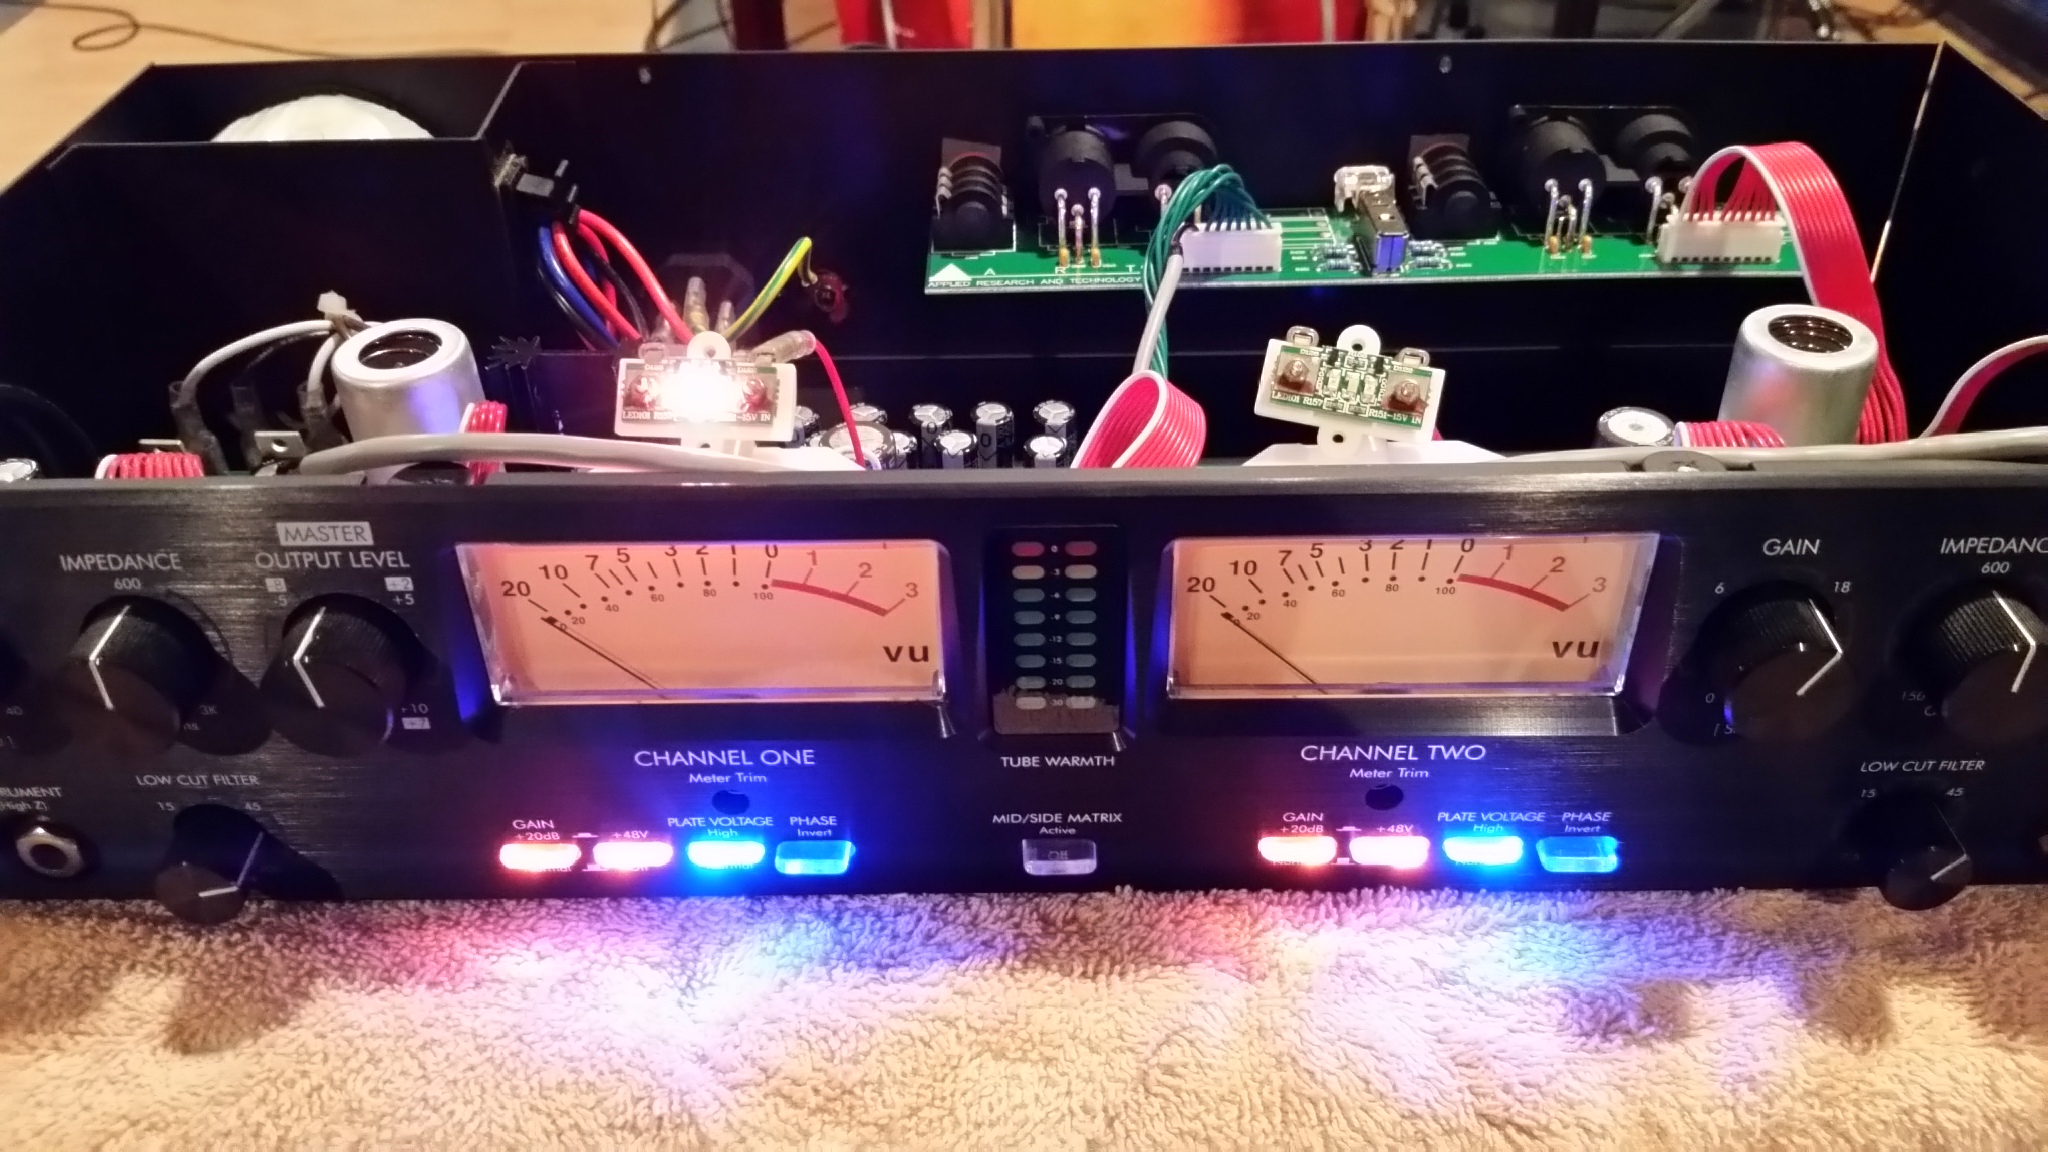


I disconnected the power cable again and removed the wires that connected to the right meter’s lamp assembly. I decided to fire up my solder iron and touch up the solder joints for the LED’s and voltage regulators in case that was the cause of the problem. I did not attempt to touch up the solder joints for the resistors because they were so tiny I was afraid I might damage them. After completing this task, I reconnected the lamp wires, reconnected the power cable, and switched on the unit. Success! The LED’s for the faulty side were now working perfectly.
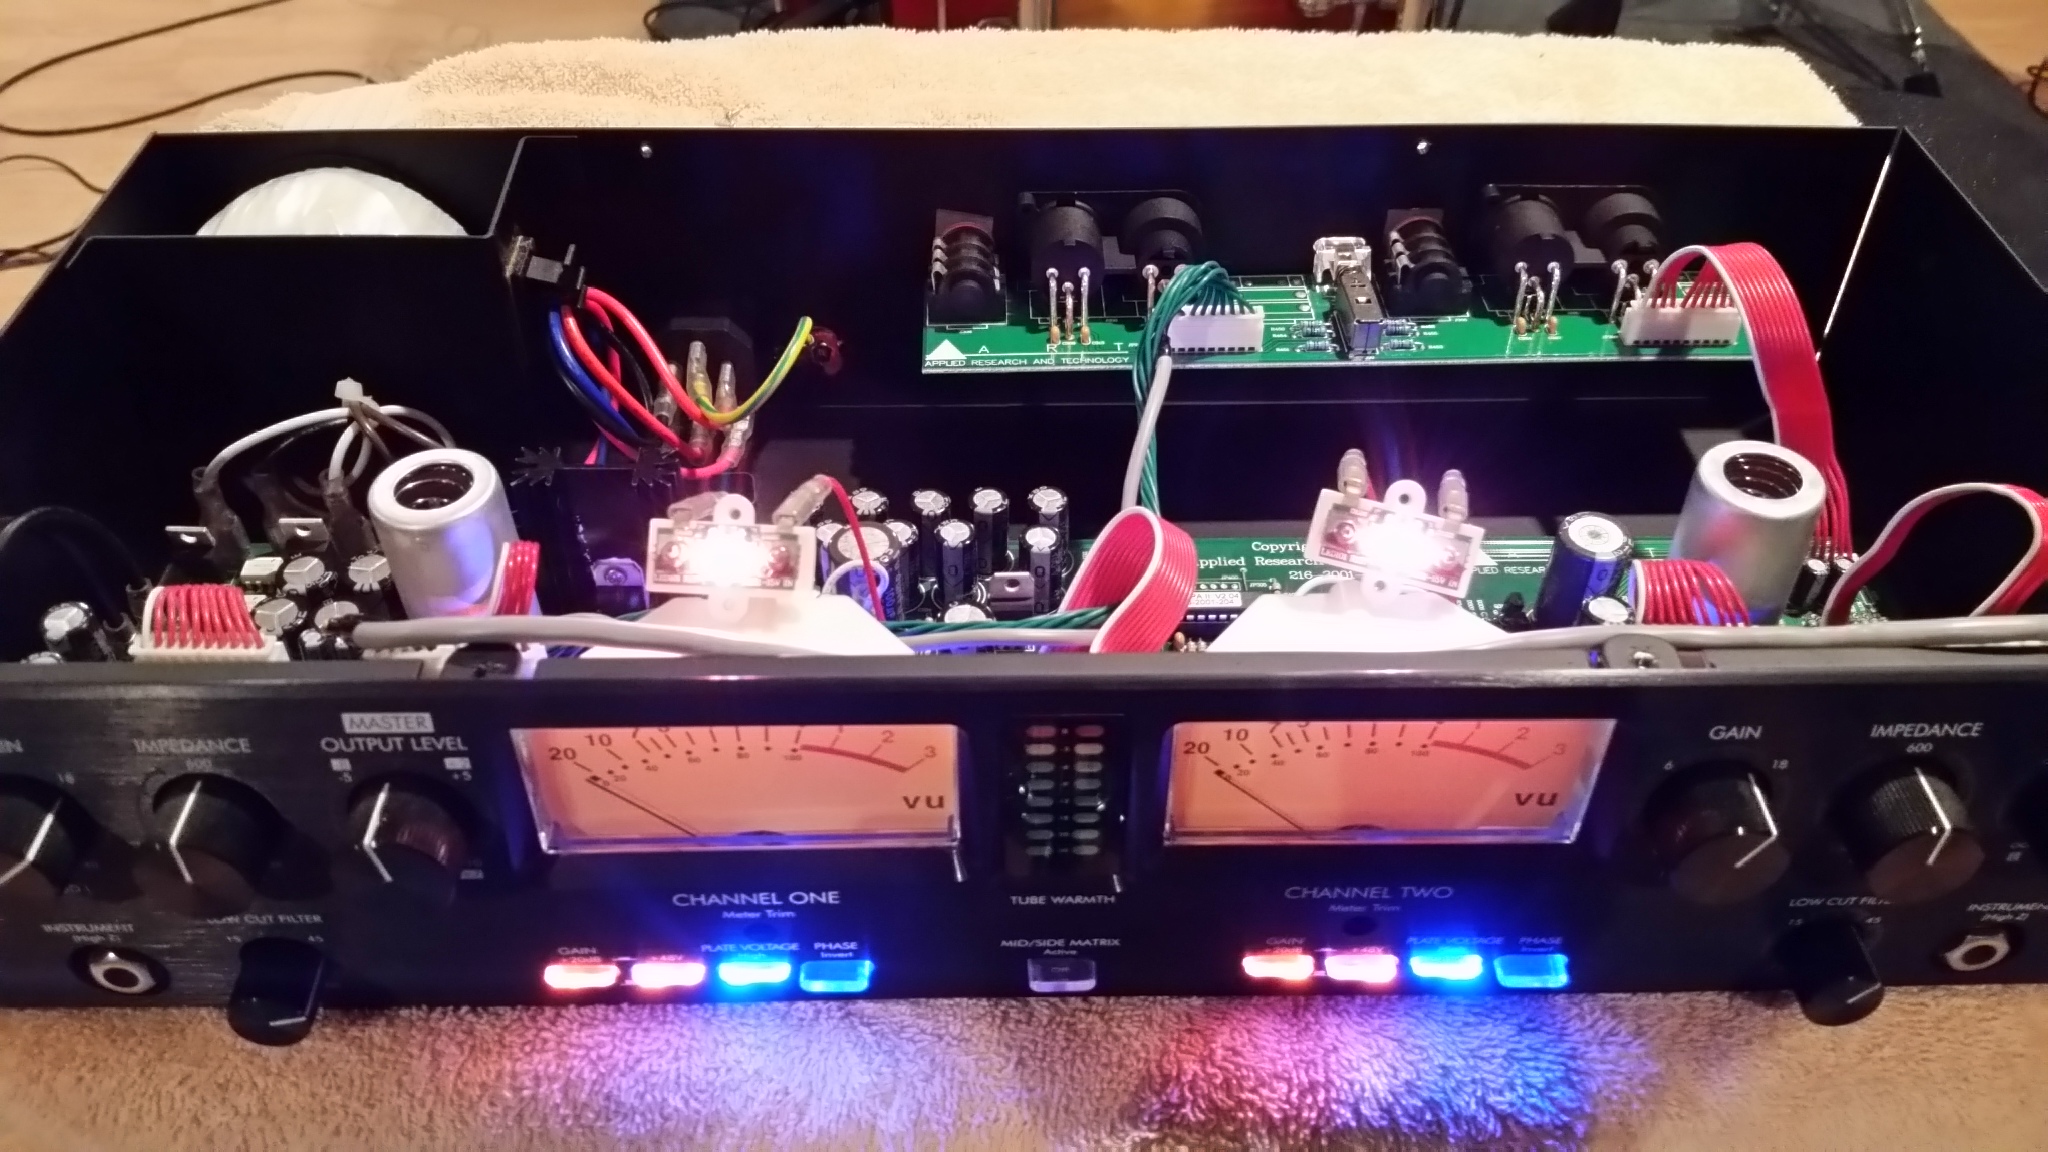
While I had the unit opened up, I also decided to swap out the 12AX7 tubes. The stock Ruby tubes are ok, but I had another pair of Tung Sol’s lying around that I had been planning to install, so this seemed like the time a good time to do it while I had the unit opened up. To swap the tubes, I first had to locate the aluminum tube covers. The covers have a spring inside the top of them that keeps pressure on the top of tube, so I just pressed down gently and turned, and the covers popped right off. To remove the stock tubes, I used a gentle rocking motion while pulling up at the same time, and they pulled free fairly easily. I had a bit more trouble getting the Tung Sol’s installed in their place. It seems that the Tung Sol’s are slightly larger in diameter than the stock Ruby tubes, which made for a pretty tight fit. But after messing with it for a couple of minutes (trying not to apply too much pressure, which could break something), I had them in. I then replaced the tube covers by lining up the tabs, pressing down, and rotating them to lock them back in place.
This ended up being a fairly easy repair. If you have a similar ART unit with this problem, give this procedure a shot and see if doesn’t work for you, too.
Shop for related items on Zzounds.com:
ART Pro MPA II microphone preamp
ART Pro VLA II compressor
ART Pro Channel II channel strip
ART Voice Channel channel strip w/ digital in/out
 Categories: Recording, Signal Processing, Tips for Engineers